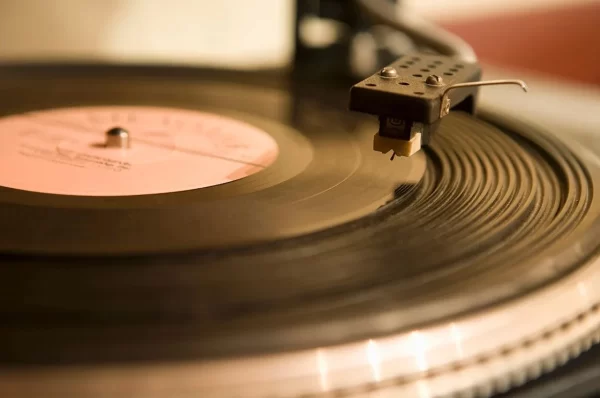
Vinyl records hold a special place in the hearts of audiophiles and music enthusiasts for their rich, authentic sound. However, as records are played, dust and grime inevitably accumulate, causing unwanted noise, distortion, and even damage to the grooves. Knowing how to clean vinyl records properly is essential for maintaining their quality and ensuring a smooth listening experience. This guide explores the best techniques for cleaning vinyl records, from everyday dust removal to deep cleaning methods, and offers practical advice on maintaining your records in top condition.
Why Clean Your Vinyl Records?
Before diving into cleaning methods, it’s important to understand why vinyl records need cleaning. Dust, oils from fingertips, and other particles settle in the tiny grooves of a record. Over time, these contaminants impact the sound quality by creating surface noise and reducing clarity. Additionally, playing dirty records can wear down both the vinyl and your record player’s stylus, which is responsible for reading the grooves and producing sound. By keeping records clean, you extend their lifespan and enjoy a higher-quality audio experience.
Materials and Tools Needed for Cleaning Vinyl Records
Before you begin, gather the following materials to ensure a thorough and safe cleaning process. Using the right tools will help prevent scratching or damaging your records.
Essential Tools:
- Anti-Static Record Brush – Made from carbon fiber or velvet, this brush removes surface dust and reduces static buildup.
- Microfiber Cloth – Soft and lint-free, microfiber cloths are ideal for wiping off dust and particles.
- Distilled Water – Free of minerals and impurities, distilled water is safe for cleaning vinyl.
- Record Cleaning Solution – Formulated to dissolve grime without leaving residue, these solutions are available in stores or can be made at home.
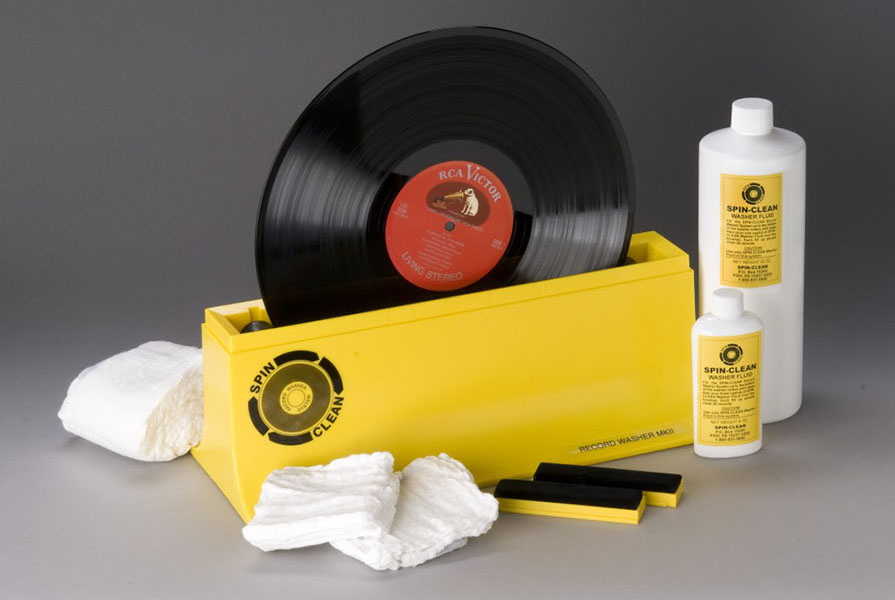
- Record Cleaning Kit – Some vinyl enthusiasts opt for a full kit that may include a brush, solution, and drying cloth.
- Stylus Brush – A tiny, soft-bristled brush used to clean the stylus on the turntable.
Steps to Clean a Vinyl Record
1. Dust Removal with an Anti-Static Brush
- Use an anti-static brush before and after each playback to remove any dust particles on the surface of the vinyl. This brush is effective in reducing static, which can attract dust to the record’s surface.
- Technique: Hold the record by the edges and place the anti-static brush on the surface. Gently rotate the record a couple of times while holding the brush in place to collect dust. Lift the brush away without dragging it to avoid scratching.
2. Wipe with a Microfiber Cloth
- A microfiber cloth can be used for light dusting or as a final step in your cleaning process.
- Technique: Lightly dampen the cloth with distilled water (never tap water, as it may contain minerals that can damage the vinyl) and wipe the record in a circular motion, following the grooves. Make sure the cloth is just damp, not soaking wet, to avoid water damage.
3. Apply Record Cleaning Solution
- For deeper cleaning, apply a record cleaning solution. You can purchase a ready-made cleaner or make your own by mixing distilled water with a few drops of isopropyl alcohol (ensure it’s 70% or lower to avoid harming the vinyl) and a drop of mild dish soap.
- Technique: Place a few drops of the cleaning solution on a microfiber cloth or directly onto the vinyl surface. Gently wipe the record following the grooves, working from the center outwards. Avoid using too much pressure to prevent pushing dirt deeper into the grooves.
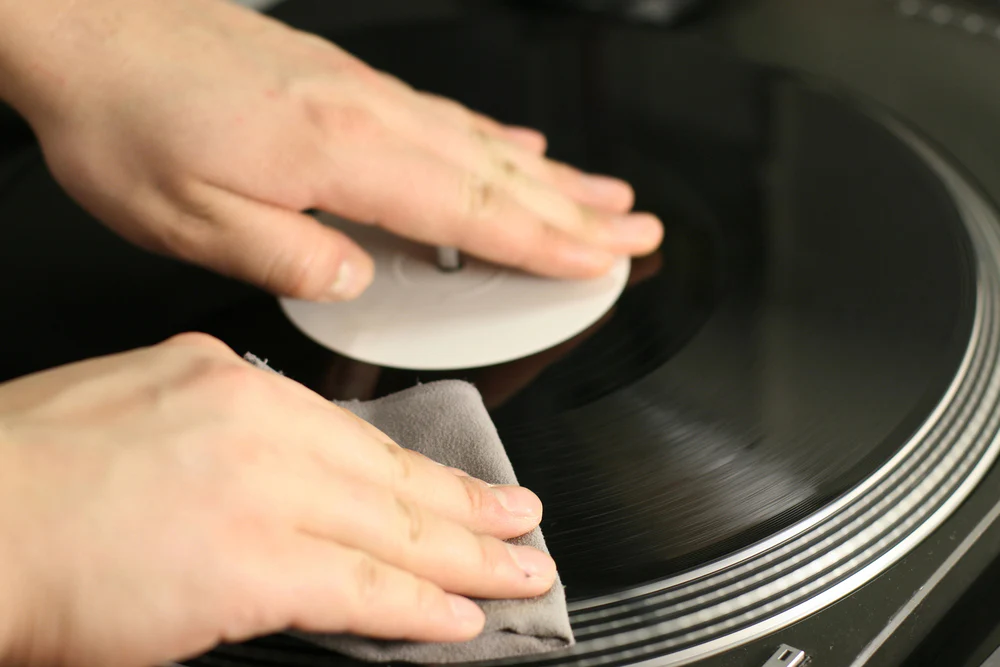
4. Rinse and Dry
- After applying the cleaning solution, rinse the record with distilled water using a clean microfiber cloth. This step removes any remaining residue from the solution, ensuring the grooves are completely clean.
- Drying: Use a dry microfiber cloth to blot the vinyl gently, removing as much moisture as possible. Allow the record to air dry completely before storing it, as moisture can damage both the vinyl and the album cover if stored prematurely.
5. Deep Cleaning with a Record Cleaning Machine
- For serious vinyl collectors, investing in a record cleaning machine (such as a vacuum-based or ultrasonic cleaner) provides the most thorough cleaning method. These machines use suction or ultrasonic waves to remove dirt and grime from deep within the grooves.
- Technique: Follow the manufacturer’s instructions for your specific machine. Typically, you’ll place the record in the machine, add a cleaning solution, and let it run. These machines are highly effective but can be costly, making them more suitable for serious collectors with extensive record collections.
Additional Tips for Cleaning and Maintaining Vinyl Records
1. Avoid Tap Water
- Tap water contains minerals and impurities that can settle in the grooves, potentially causing damage or residue buildup. Use distilled water exclusively, as it is free of contaminants.
2. Don’t Use Harsh Chemicals
- Cleaning solutions containing harsh chemicals like bleach, acetone, or even high-concentration isopropyl alcohol can damage vinyl. Only use solutions specifically formulated for record cleaning or a DIY mixture with distilled water, mild soap, and minimal alcohol.
3. Store Vinyl Records Properly
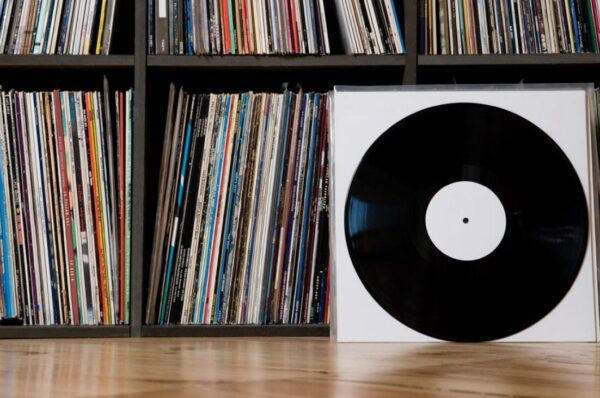
- Proper storage is key to keeping records clean and minimizing dust accumulation. Store records upright in a cool, dry place, ideally inside anti-static sleeves. Avoid stacking records horizontally, as this can cause warping over time.
4. Regular Stylus Cleaning
- A clean stylus is essential for good sound quality. Use a stylus brush to remove dust and particles from the stylus before each playback. A clean stylus helps prevent dust and dirt from transferring to the vinyl.
5. Handle Records by the Edges
- Avoid touching the grooves with your fingers, as oils from your skin can attract dust and grime. Always handle records by the edges to minimize contact and prevent buildup.
DIY Record Cleaning Solution Recipes
While commercial record cleaning solutions are effective, you can make a simple DIY solution at home. Here are a few recipes:
Basic DIY Cleaning Solution
- Ingredients:
- 3 parts distilled water
- 1 part isopropyl alcohol (70% or lower)
- A drop of mild dish soap
- Instructions: Mix the ingredients in a spray bottle. Spray lightly on a microfiber cloth and gently wipe the record in circular motions following the grooves.
Alternative Vinegar Solution (Use Cautiously)
- Ingredients:
- 1 part distilled white vinegar
- 3 parts distilled water
- Instructions: Mix in a spray bottle and apply sparingly to a microfiber cloth. Some collectors avoid vinegar due to its acidity, but in small amounts, it can help remove grime effectively. Always rinse thoroughly with distilled water afterward.
Common Mistakes to Avoid When Cleaning Vinyl Records
- Using Paper Towels: Paper towels are too abrasive and can scratch the surface of the record. Always opt for a soft microfiber cloth.
- Applying Excessive Pressure: Pressing too hard can push dirt deeper into the grooves and cause scratches. Be gentle when wiping.
- Using Household Cleaners: Household cleaners like window cleaner or bleach are too harsh for vinyl and can cause irreversible damage.
- Skipping Regular Cleanings: Preventative care, such as dusting with an anti-static brush before each play, can make a big difference in maintaining record quality and avoiding frequent deep cleans.
Also Read: – What are the dimensions of a vinyl record cover
Conclusion
Cleaning vinyl records may seem tedious, but it’s essential for anyone looking to preserve their collection and enjoy high-quality sound. Regular dusting, proper storage, and occasional deep cleaning will keep your records in excellent condition for years. With the right tools and techniques, you can protect your vinyl investment and ensure each playback delivers the rich, authentic sound vinyl is known for. Enjoy the timeless pleasure of a well-maintained record collection, and let the music play on without interruption.
An Electronics Engineer & A MBA in Marketing Graduate, Kinjal Gosar is a passionate audiophile herself. Starting her career at India’s biggest Consumer Electronics Retail Chain, her technical knowledge is amazing. Classic Rock has been a huge part of her life and her love for Music has always been evident in all her work. A vinyl collector herself, she loves spreading the joy of analouge while giving nothing but the best to her fellow vinylheads.
