Playing a vinyl record is both an art and a science, combining the nostalgic appeal of analog audio with the precise mechanics of a turntable. For those venturing into the world of vinyl, understanding the basics and finer details can make the experience richer. This guide will take you through every essential step, from setting up your turntable to handling records with care, so you can make the most of your vinyl collection.
1. Setting Up Your Turntable
Before you can play a vinyl record, you’ll need a functional turntable and a few key components.
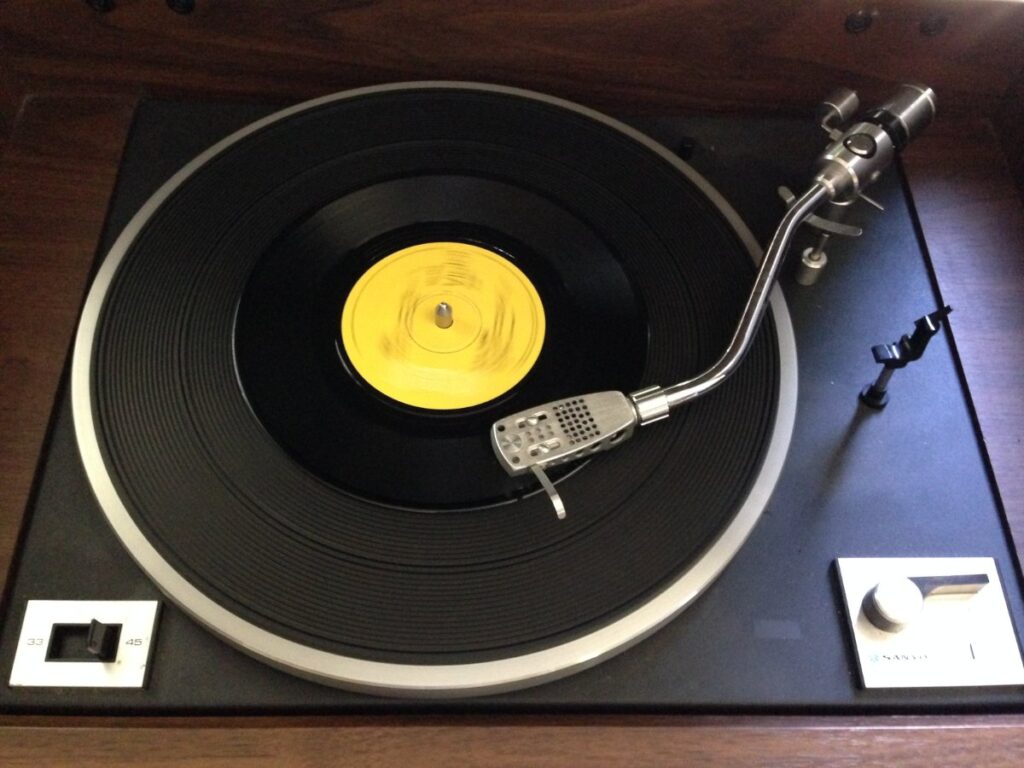
Parts of a Turntable
- Platter: The flat, circular platform where the record rests.
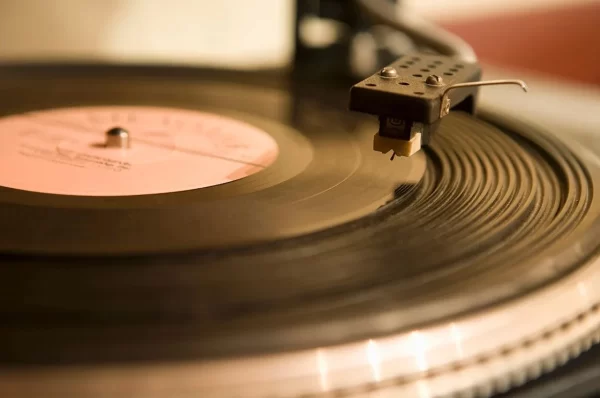
- Tonearm: The arm that holds the cartridge and stylus, which reads the record.
- Cartridge and Stylus: The cartridge holds the stylus, or needle, that touches the grooves of the vinyl to create sound.
- Counterweight: At the end of the tonearm, this weight balances the stylus pressure on the record surface.
- Anti-skate Control: This setting helps the tonearm stay centered in the record’s groove.
- Plinth: The base of the turntable, which holds the motor, platter, and tonearm.
Positioning the Turntable
Place the turntable on a stable, flat surface to avoid vibrations, which can distort sound. Avoid placing the turntable near speakers or any area with heavy foot traffic, as vibrations can be transferred to the turntable and affect playback quality.
Connecting to an Amplifier or Receiver
Some turntables have built-in preamps, while others require an external preamp to boost the signal. If your turntable doesn’t have a preamp, connect it to an amplifier or receiver with a “PHONO” input. If it does, you can connect it directly to a set of powered speakers or an AUX input.
2. Cleaning the Record
Cleanliness is crucial for maintaining audio quality and protecting your records. Dust and grime can accumulate in the grooves, affecting the sound and potentially damaging your stylus.
Using a Record Brush
Before each play, gently brush the record in a circular motion with a carbon fiber or microfiber record brush. This removes surface dust and prevents it from embedding into the grooves.
Deep Cleaning with a Record Cleaner
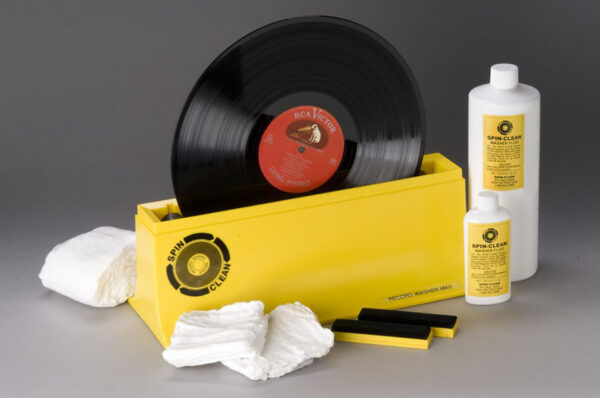
For more thorough cleaning, use a record cleaning solution and a soft cloth or vacuum system to clean deep into the grooves. Avoid household cleaners, as these can damage the vinyl.
Storage and Handling
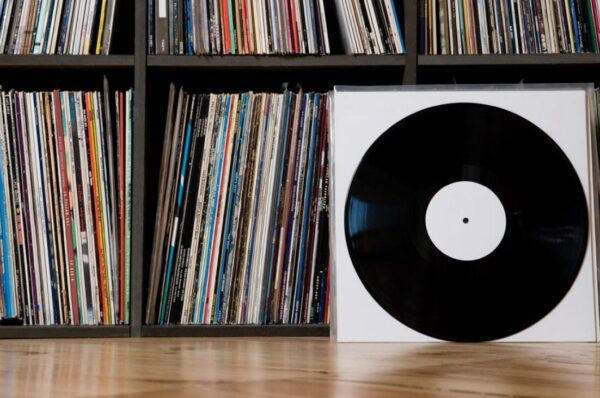
Hold your records by the edges and avoid touching the grooves. When not in use, store them vertically in a cool, dry place, away from sunlight and heat, as these can warp the vinyl.
3. Balancing the Tonearm and Adjusting the Counterweight
Proper tonearm balance and stylus pressure are essential to avoid damaging your records.
Setting the Counterweight
To balance the tonearm, start by moving it away from the rest. Adjust the counterweight at the back of the tonearm until it floats horizontally, meaning there’s no downward or upward pressure. Then, rotate the counterweight dial to zero and adjust according to the recommended tracking force for your cartridge (typically around 1-2 grams).
Adjusting Anti-Skate
Anti-skate ensures that the tonearm stays in the groove without sliding inward or outward. Set the anti-skate dial to match the tracking force. This keeps the stylus aligned and reduces wear on both the vinyl and stylus.
4. Playing the Record
Now that your turntable is ready and your record is clean, it’s time to play.
Placing the Record on the Platter
Carefully place the record on the platter, aligning the hole with the spindle. If the record is a 7-inch single (a smaller vinyl with a larger hole), you’ll need an adapter to fit it properly.
Selecting the Speed
Turntables generally have two-speed settings: 33 1/3 RPM (revolutions per minute) for 12-inch LPs and 45 RPM for 7-inch singles. Some older records may require a 78 RPM setting, but this is less common and often requires a specialized stylus.
Starting the Turntable
Most turntables have either a manual or automatic start mechanism:
- Manual Turntables: Manually lift the tonearm, position it over the outer groove of the record, and gently lower it. Most manual turntables have a lever to lift and lower the tonearm, helping you avoid direct contact.
- Automatic Turntables: Press the “start” button, and the tonearm will automatically position itself at the beginning of the record.
Enjoying the Sound
Once the stylus makes contact with the record, you’ll hear the iconic crackle and hiss that precedes the music. Now, sit back and enjoy the warm, authentic sound of analog music.
5. Maintaining Your Records and Equipment
Regular maintenance helps your equipment and records last longer, ensuring you get the best sound quality each time you play a record.
Cleaning the Stylus
The stylus should be cleaned every few records to remove dust and debris. Use a stylus brush or a cleaning gel, brushing gently from the back of the stylus to the tip. Never brush side-to-side, as this can damage the needle.
Replacing the Stylus
Most styluses have a lifespan of about 500-1,000 hours, depending on use and care. A worn stylus can damage records, so replace it when you notice decreased audio quality or excessive wear.
Checking Belt Tension
If you have a belt-drive turntable, periodically check the belt’s tension and condition. Over time, belts can stretch and wear out, leading to pitch issues. Replacement belts are generally affordable and easy to install.
Dusting and Covering Your Turntable
Dust is a turntable’s enemy. If your turntable has a dust cover, close it when not in use. Otherwise, use a soft, lint-free cloth to gently dust it regularly.
Also Read: – How does a vinyl record work
6. Troubleshooting Common Issues
Even with proper setup, you may encounter some playback issues. Here’s how to address them:
Skipping or Distorted Sound
Skipping can result from dust on the record or an improperly balanced tonearm. Clean the record and ensure the tracking force and anti-skate settings are correct. Distorted sound may mean the stylus is dirty or needs replacing.
Unstable Speed or Pitch
If the speed fluctuates, check the turntable’s belt (for belt-driven models) or the motor (for direct-drive models). Also, ensure your turntable is on a stable surface away from vibrations.
No Sound or Weak Signal
Make sure all cables are securely connected. If your turntable requires a preamp, ensure it’s powered on and correctly wired to your amplifier or speakers.
7. Maximizing the Vinyl Experience
There’s something special about playing a vinyl record that can’t be matched by digital formats. Here are a few tips to fully immerse yourself in the experience:
Experiment with Different Genres and Recordings
Vinyl brings out nuances in sound that are often lost in digital recordings. Jazz, classic rock, and classical music often sound exceptional on vinyl, as the analog format captures more of the natural warmth of instruments.
Invest in a Quality Sound System
A high-quality pair of speakers or headphones can elevate your listening experience. If possible, invest in a quality amplifier or receiver that pairs well with your turntable for a fuller, richer sound.
Build a Collection
One of the joys of vinyl is building a personal collection. Record stores, flea markets, and online marketplaces offer a vast range of records. Discovering rare finds or nostalgic albums adds to the fun and makes listening more personal.
Final Thoughts
Playing a vinyl record is more than just hearing music—it’s an immersive experience that requires care, attention to detail, and a passion for analog sound. With proper setup, cleaning, and maintenance, you can enjoy the unique warmth of vinyl for years to come. So, whether you’re a longtime vinyl enthusiast or a newcomer, follow these steps to get the most out of your turntable and vinyl collection.
An Electronics Engineer & A MBA in Marketing Graduate, Kinjal Gosar is a passionate audiophile herself. Starting her career at India’s biggest Consumer Electronics Retail Chain, her technical knowledge is amazing. Classic Rock has been a huge part of her life and her love for Music has always been evident in all her work. A vinyl collector herself, she loves spreading the joy of analouge while giving nothing but the best to her fellow vinylheads.
